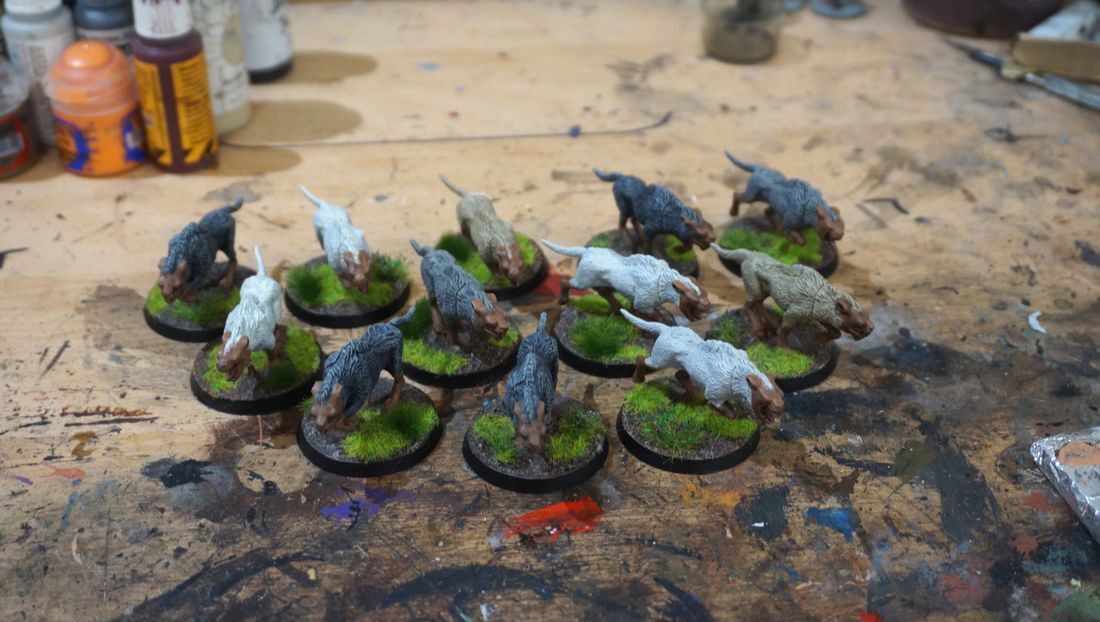
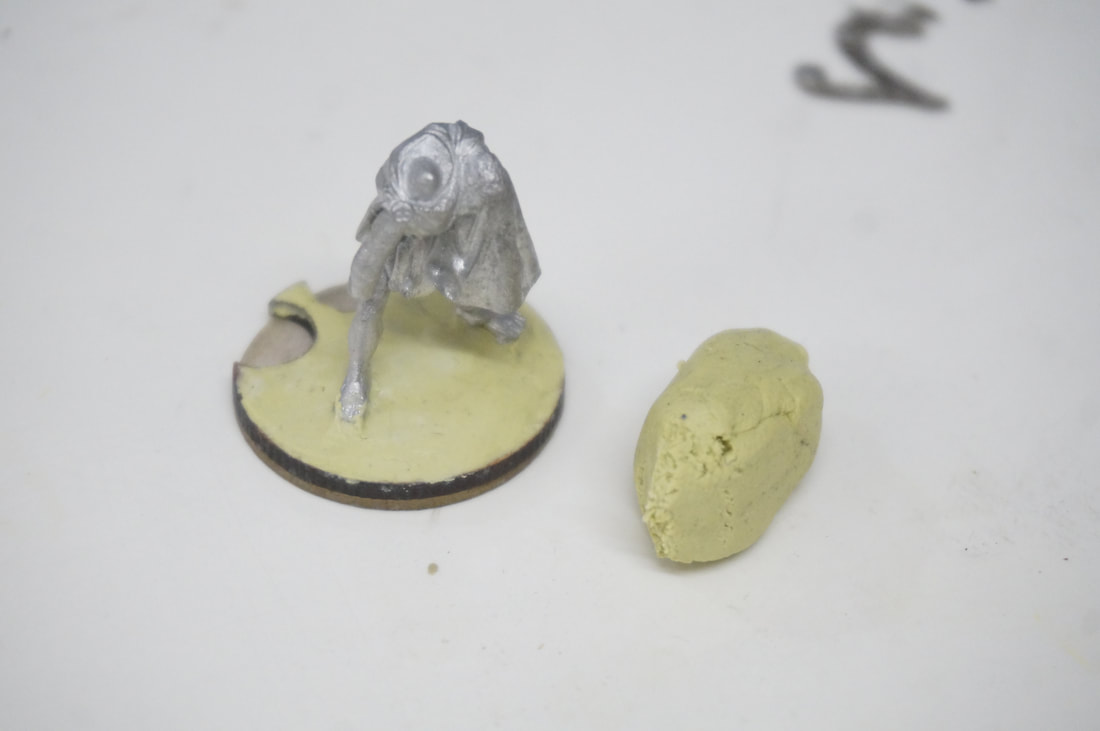
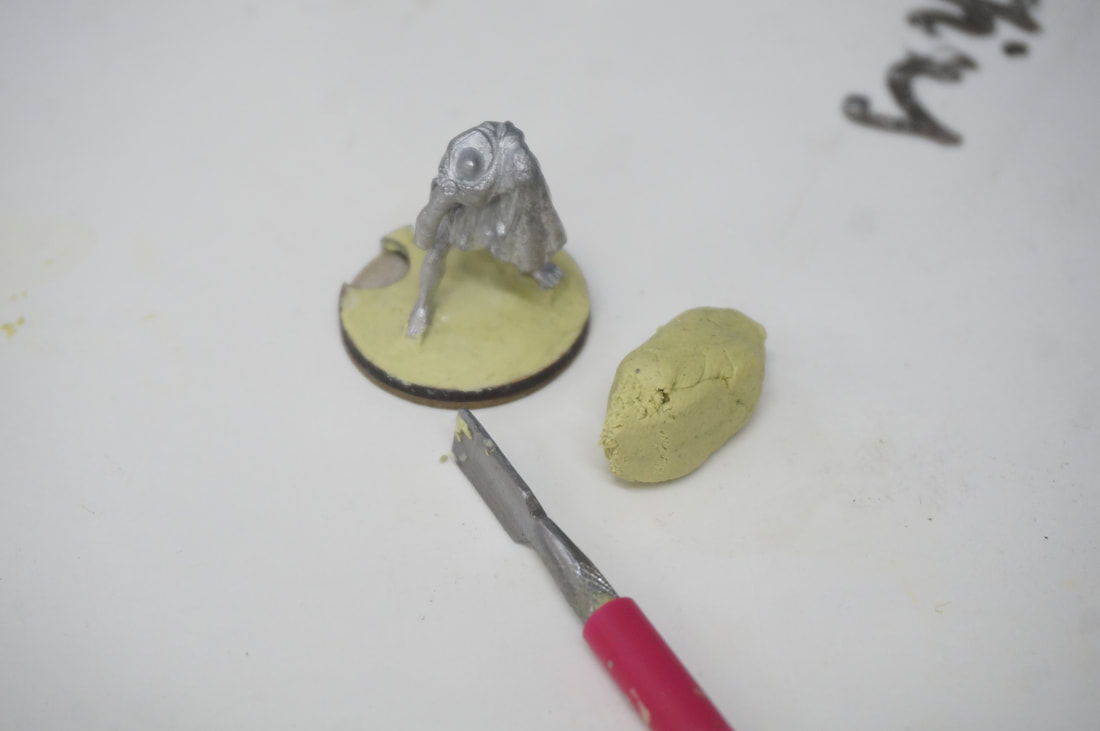
 The touch up on those wargs went really well and since i have since received a big old mix of flowery siflor tufts from ebay i decided to upgrade their bases a bit to as the general "green" static grass wasn't helping their slightly cartoonish finish. Either way it was detracting from the naturalistic tone of the project. 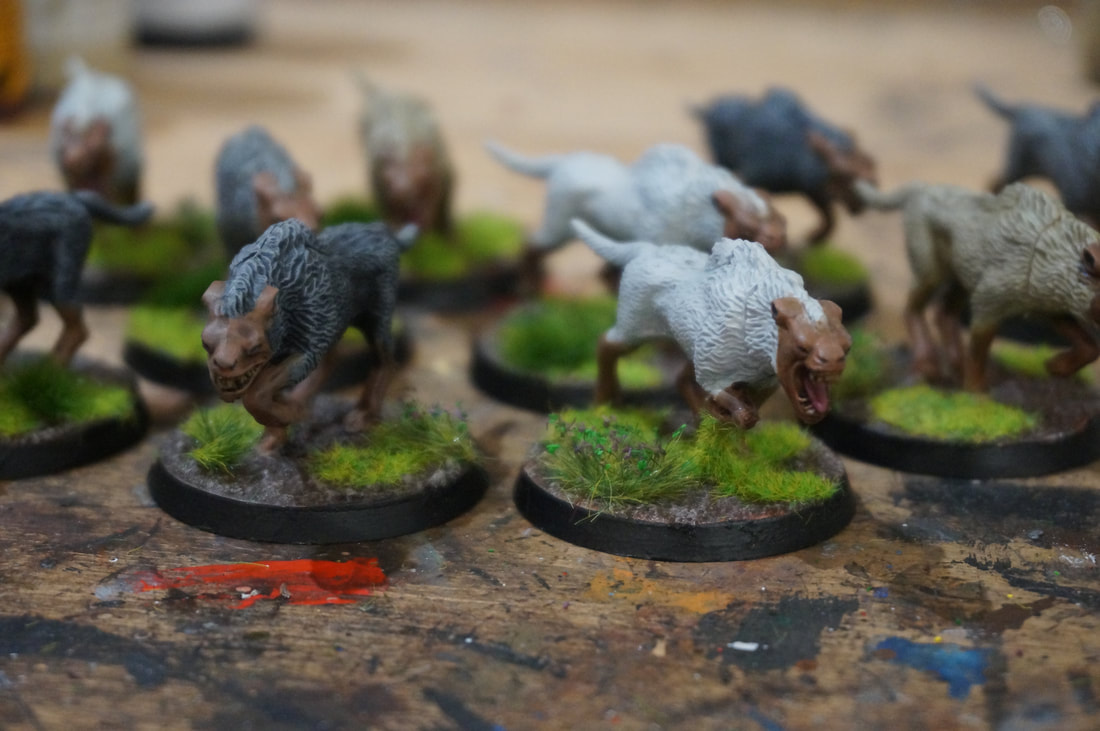 HEADING BACK TO VALHALLA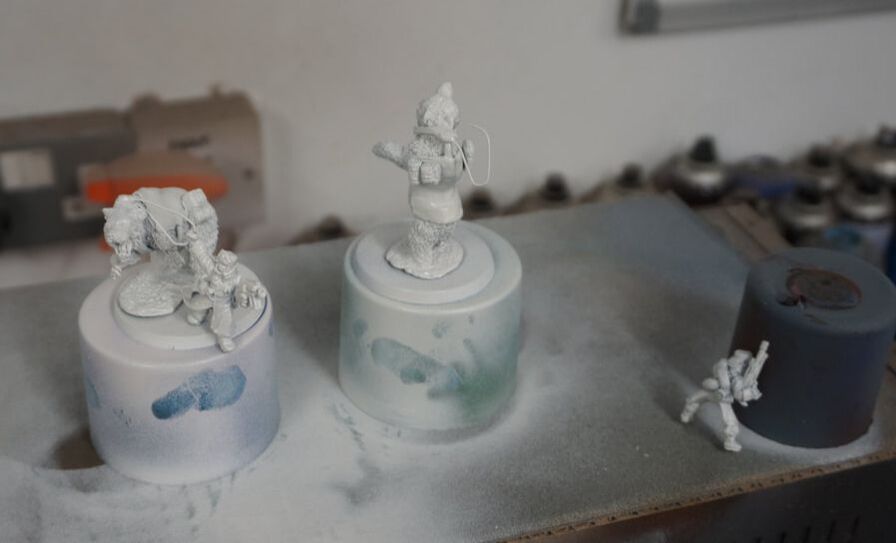 In the coming weeks i will be dipping back into (and finishing) Brams Valhallan order (although we all know that this army....will never be finished and i'm half tempted to get an old frost giant model and convert it to be some kind of behemoth ogryn captain for bram sometimes, that's how extravagant and exciting his imagination is!). Bram has a fantastic imagination and has created these amazing bear riders (rough rider stand ins) using foundry bears. Below is a picture of the last ones i painted. 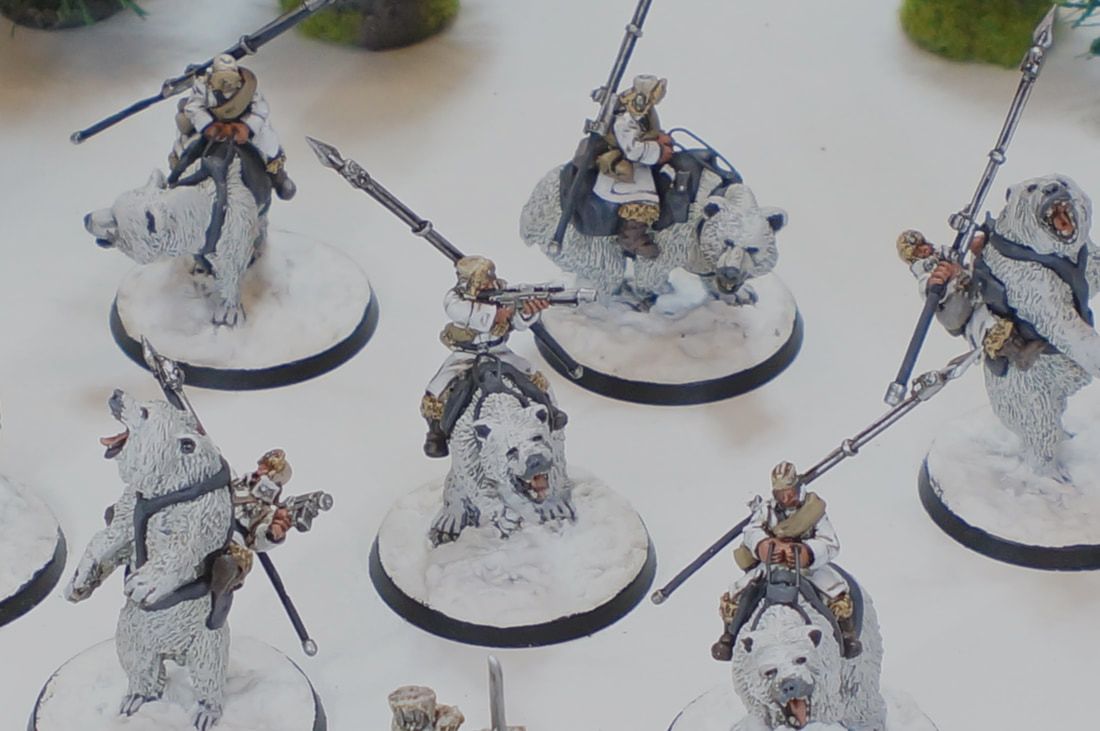 ROMAN FIGHTER COBBLE BASESI am a decisive artist generally. I don't tend to back and forth on decisions but with these roman models i did a bit. Should i remove the tabs entirely and pin them, should i do the bases first and them stick them down, should i match these to the mob bases even though i did the test model slightly differently and then found that the mob bases would have been much harder to do correctly in the previous style. I wouldn't say they threw me, moreso i might say i just couldn't decide so i let them sit on the back burner a few days while i did the mob bases and got them painted. Now that i finished them and stood them next to the fighter test model i could see that regardless of the style of cobble the coloring, flocking and overall general art style (being my own usual naturalistic, gritty one) matched quite well. 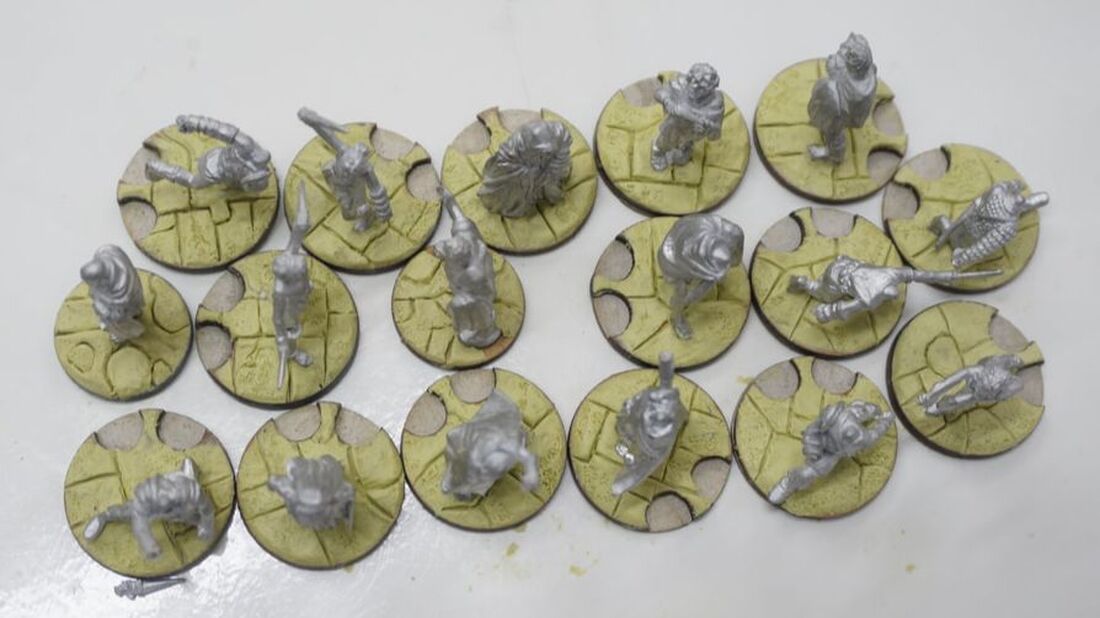 Step 1. Mix your putty and squeeze it onto the base. Rub off the edges to get a bevel and use a cuticle (nail) tool to flatten the top. I also used the pointy end of this tool to clear out the semi circles on the fighter bases.
Step 2. Using a dentists tool (from a craft shop) sculpt lines into the base, making sure they cross and intersect randomly, so as to imply larger and smaller cobbles in a mixed fashion. 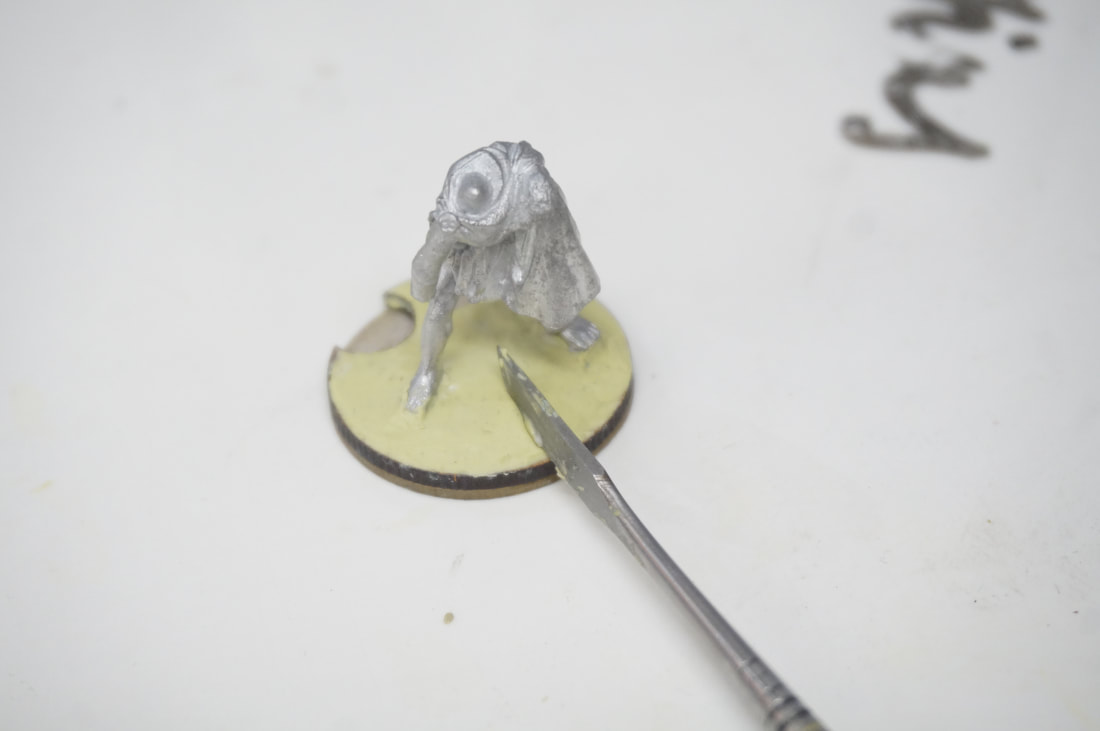 Step 3. Using an old tooth brush stipple some marks and dots into the bases to finish. 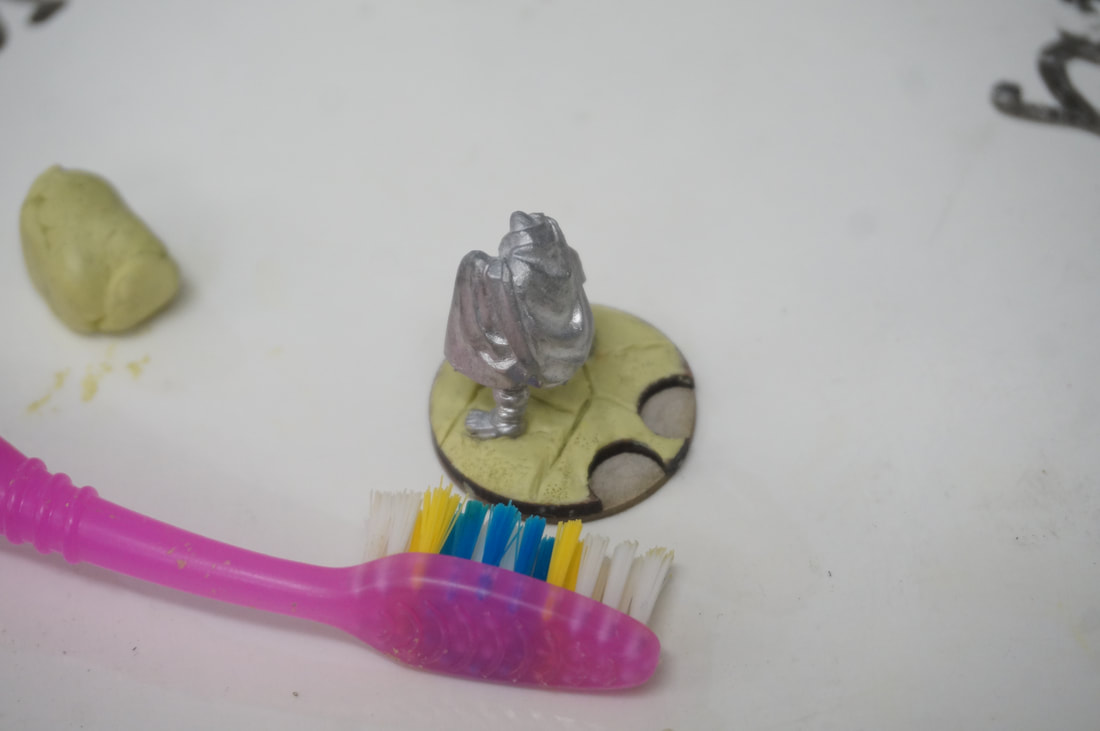
0 Comments
Leave a Reply. |
SUBSCRIBE TO FOLLOW ALL UPDATES.
ABOUTA blog for the w.i.p element of the EZPainter process. ARCHIVES
March 2024
|
 RSS Feed
