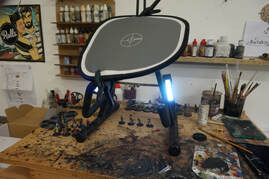
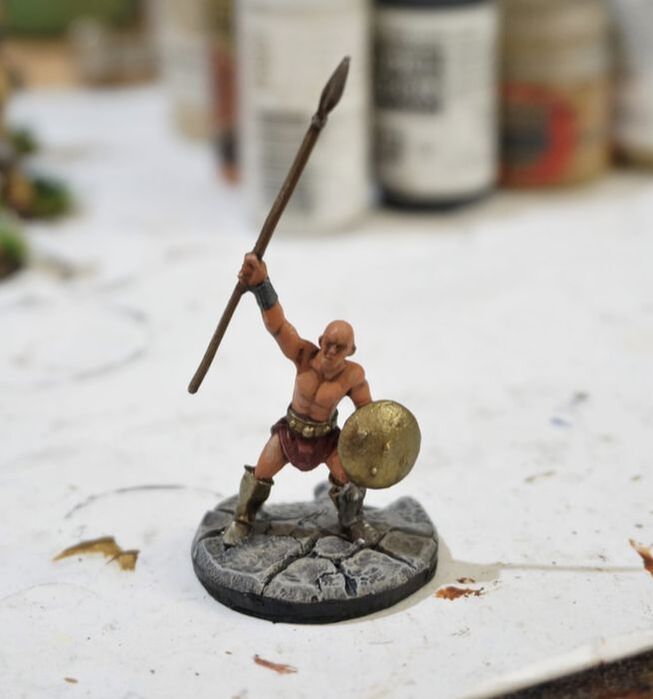
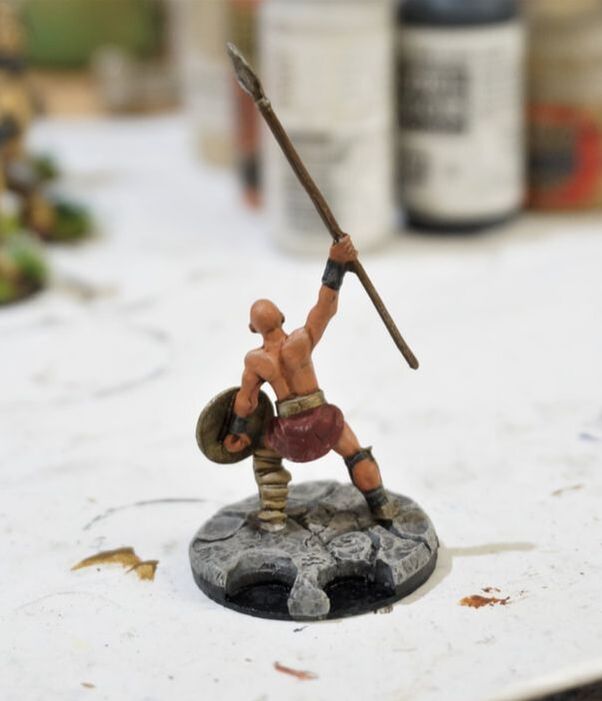
 This evening insomnia struck as notice of further lockdown measures on manchester come 1 day before the hottest day of the year here. Such a shame. So as to have enough time to enjoy the sun tomorrow afternoon i powered through those romans with some new brushes i got off ebay, then i knocked up a little photo booth (pictured left) on my work desk and snapped some pics. Multiple ink followed by highlights and some brown lining. A little muddying up, some eye and mouth socket painting, a bit of detailing and voila.
0 Comments
Today i was confronted with an age old problem that i've had to deal with for a long time. Unmixed paint. Specfically i have a few bottles (yellows, purples, some browns) that just never seem to mix no matter how hard i shake them. So i had a brainstorm moment and i remembered i've just bought a drill. I wrapped some wire around a bottle to make a "spinny paint bottle holder thing". I gave it a good whirl and whoa...some of these un usable bottles have changed completely. I'm really glad as there was some colors i really wanted to use on these models. 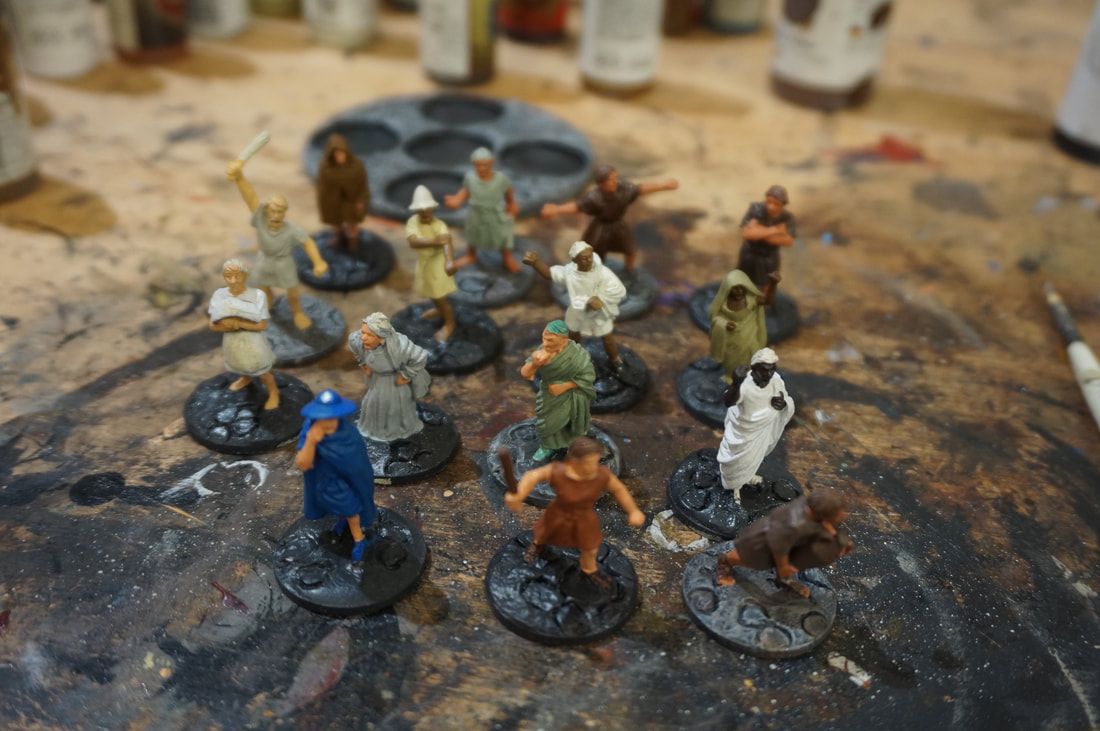 The first thin i wanted to do after i blocked out all of the robes was pick out the skin tones. I attended the very moving and very large Black lives matter protest a few weeks ago, read a bit on the matter and also stumbled upon a great article saying that ancient rome was anything but a white colony. I read into this and i found that in fact "race" in ancient rome would have been even more diverse than it is now with much less white representation across the board. I decided to make these bases at least as mixed as possible by introducing mixed skin tones. It seems like the tiniest little protest in itself but the industry is disgustingly white. And there is no other adjective for it. It's just white people making white miniatures for white people mostly. And it sucks. As a conesquence i always try to ask my clients if they want a mix of skin tones but even white skin is catered for much more easily than dark skin tone sin paint ranges. There literally is very few "dark" skin products. Vallejo skin tones comes to mind as a good one. 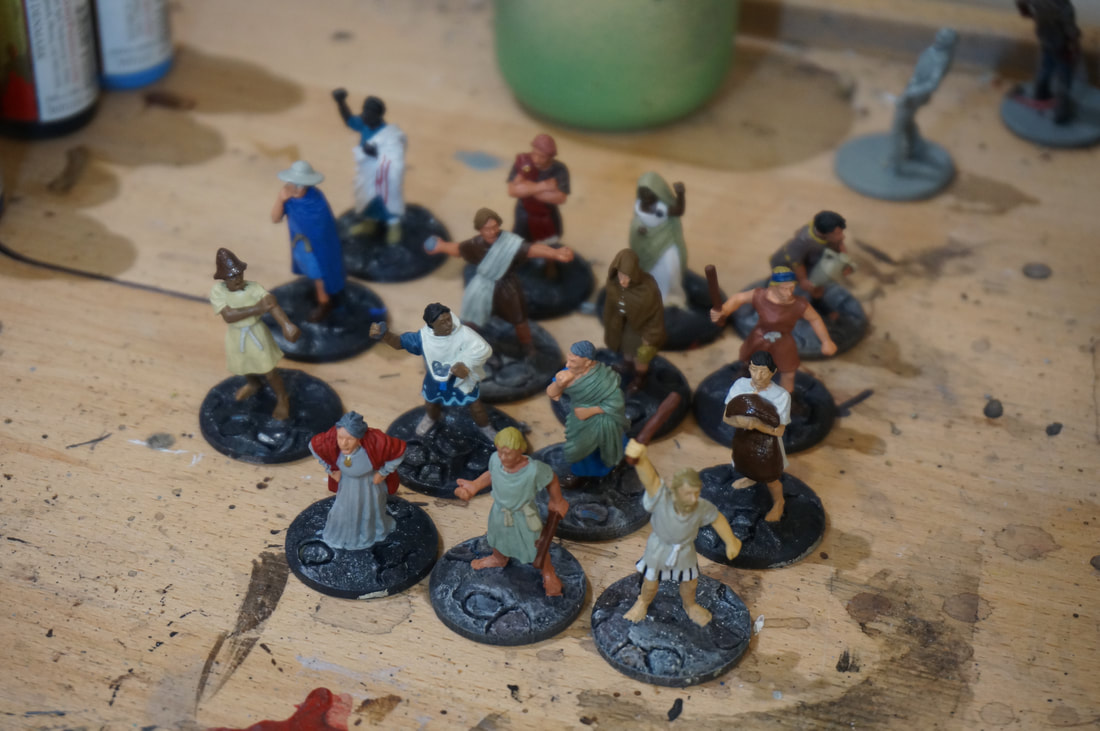 I like to use multiple different color primers that i buy from SPRAYSTER.COM to save money. I have many strong opinions about primer in the wargames industry. The shocking mark up is astonishingly unjust. I save my customers a lot of money by using these other primers. I shall say in short that ALL MATT PRIMER is basically the same in regards to the purpose of wargaming. With some of these they come out a little sheen, so i simply brush them with a matt coat of varnish before painting or inking and they take paint perfectly. Check out sprayster.com. Following a mixed undercoat (leaning heavilly into brown and beige for historical accuracy of sorts) i painted the bases a dark grey (matching the base of the test model.) Many of my clients know my mental health can be u and down, so this last few days i haven't got as much done as i'd like, however i decided to trek on and get these bases done as a test to see how they matched up with the test model. I was nervous that the stamp method i employed on the group bases wouldn't look like cobble and i think i was right with just the grey/brown/beige/grey method. It looked a bit boring. I decided to pick out some of my favorite browns and add them on top picking out individual tiles. That seemed to work really well but it was a bit flat so i mixed my home made "death juice" (recipe to come soon) and some grey paint and i made a dark grey wash. After the grey wash i added a final dry brush of spaceship grey and it really popped, the contrast was there and it looks fantastic. The fit of the bases is ever so slightly tight (i have akward memories of a client once berating me because his bases didn't fit absolutely perfectly - don't worry it wasn't John, John is so nice) so i will see how they feel in a day or two when i'm done painting and then i can always sand them down a tiny bit. RUBY DRAGON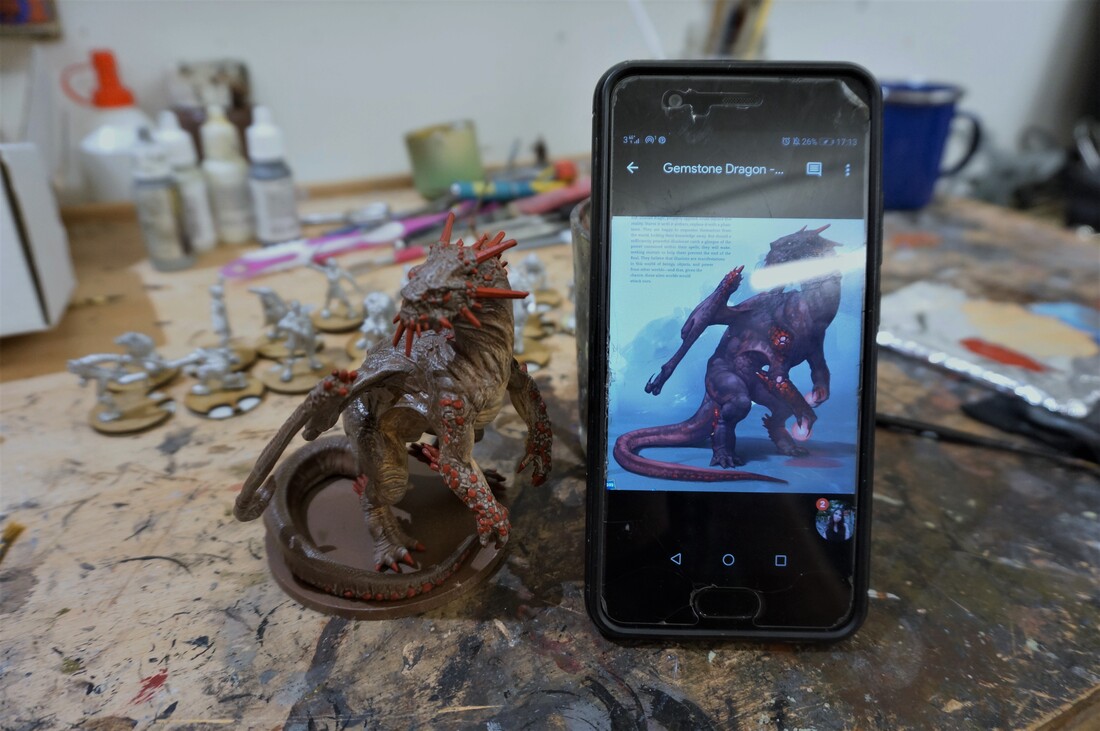 This dragon model is an exciting learning curve. I considered approaching this from a few angles. Firstly i considered dark purple and black primer worked up to red and pink with black washes, then i thought about black and worked up manually without washes to brown red. Finally i decided on a dark brown and skin tone (to develop that skin tone on the tummy of the picture) and then washes and working back up to that purple red hue. It's going to be a challenge. As it stand right now i've done the brown, the skin and the red (block colors) and started with the washes. The image is definitely very red but i'm stumping out on how to get there. I am very understanding of the creative process however and i know we shall one way or another. For the time being i'm very proud of the natural skin fade i've achieved on the tummy and can't wait to see these washes dried. Pictured above, achieveing those natural skin fades with spray, dry brushing, mottling and and overbrushing. With the majority of details picked out roughly i gave the model a liberal wash of Death Juice (my own home made black wash) mixed with Army Painter Strong tone. I think i might repeat this once dry, not sure yet. Otherwise i might just work the skin tones down to a darker set. i can't rightly decide yet.
Basing these romans has been a fun challenge so far. I sat down the other night with a few old kung fu movies and removed the base tabs with clippers. I considered going completely tab less as with the test model but i realised that some of the models wouldn't work that way (thin legs) so i have had to compromise the style a bit to get a uniform (ish) look to the cobble across the board. I kneeded some putty and squeezed it onto the base wity my fingers. i found that the less i thought about it the better a job i did, which then i could clean up with a tool afterwards. After doing the first base i decided to go out and get a better sculpting tool from the craft shop. 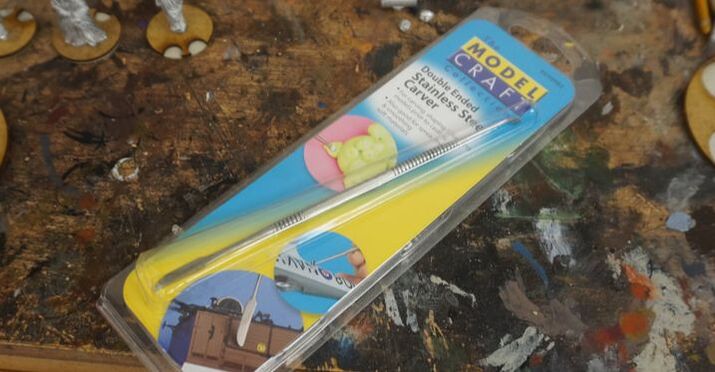 The main issue i met with these "multi bases" is the thickness of the putty. If i was to compeltely match it to the fighter i think it'd have looked odd. However in trying to do something a bit different for the multi bases i worry i've strayed to far. This took a fairly long time to get done and i'm happy with the result. Luckilly my clients seem to trust me and usually follow my judgement on orders. I realise looking at this that i could totally add other bits now that it's dry. I also do believe on these bigger bases there will be more brown leaves and tufts.  Just four more mob characters left to do then i'm gonna get on matching those fighter bases to the test model as i feel it's more pertinent to do so with them. That will take a lot longer than expected. 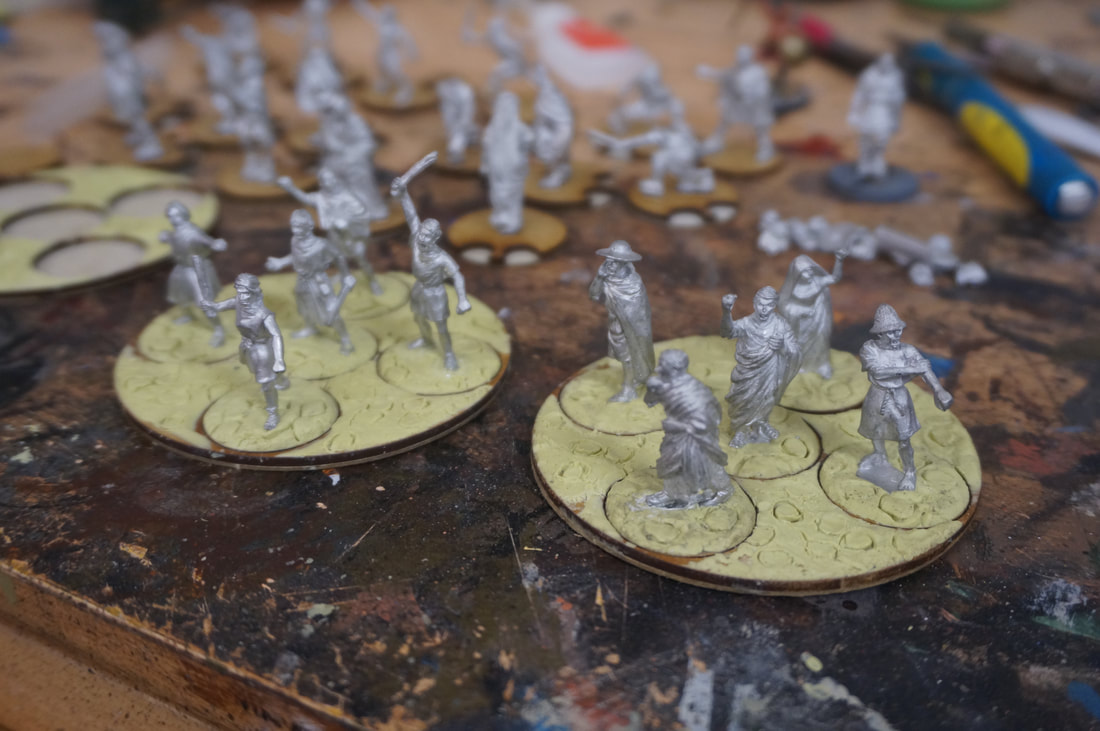 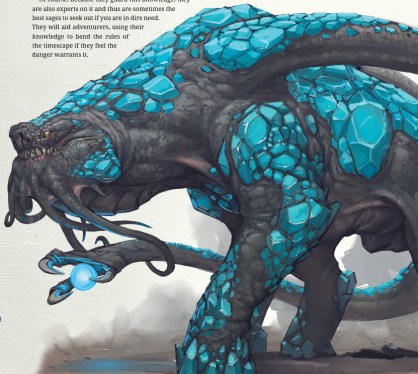 Most of the work on my romans order is hands on basing and stuff for a few days, removing tabs and sculpting bases so i shall post pictures once i get to that stage but for now i decided to jump back to a special order by a newer and exciting client Dom. Dom once sent me a parcel (with a LOT of mini's in it) that got lost by royal mail. It was a horrific moment and luckilly Dom is a super nice guy and understood the issue. Years later we began discussing more work and i was super eager to get back on it for him. I have a big mixed order of models (all for DnD) which is so exciting for me as i tend to paint lots of uniform models, so this order allows me to really flex some working muscles as well as genuinely learn new stuff. The latest model i've finished for this order is this giant ancient saphire dragon. It is an astounding model but i've lost the box with the manafacturer on it. I shall ask my client and maybe he can comment here with the producer. 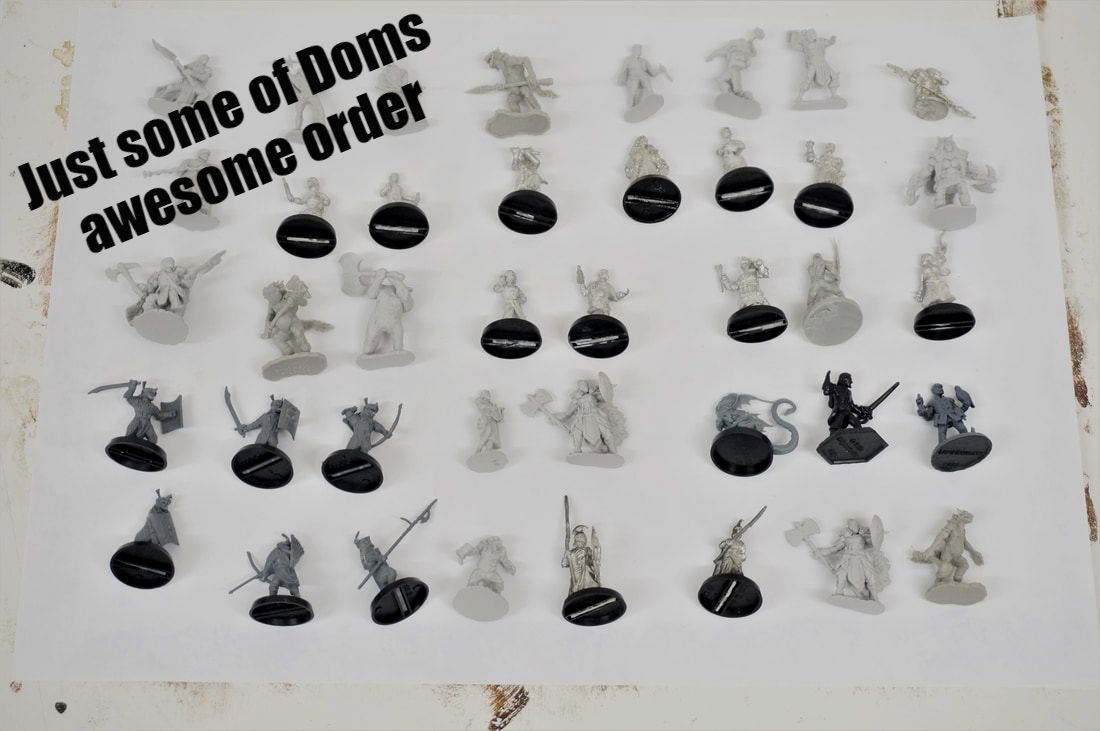 This model is so large i went hunting around the house for a bigger photo booth or similar and literally found an actual large photo booth so i set up my lights and my tripod and grabbed some great pics for you. I decided to collage them together so you can see all the elements of the job in one picture.  Here is the collage picture i've built, i really hope you like it. Painting this model was a challenge in patience more than anything, all those gems and going back over bits in black then sometimes blue and vice versa. It was Nice to get to the end and then as usual it just kind of came together in the last few moments. Very satisfying. I think i got the contrast down, i hope my client likes the blue i've gone with. 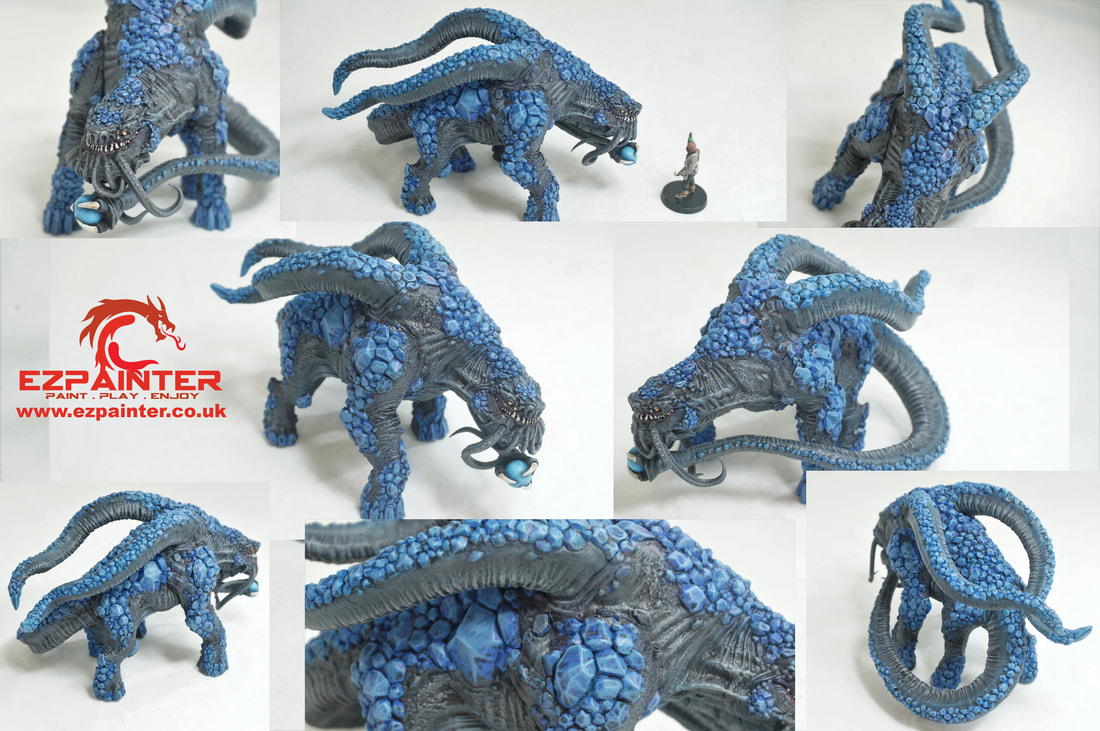 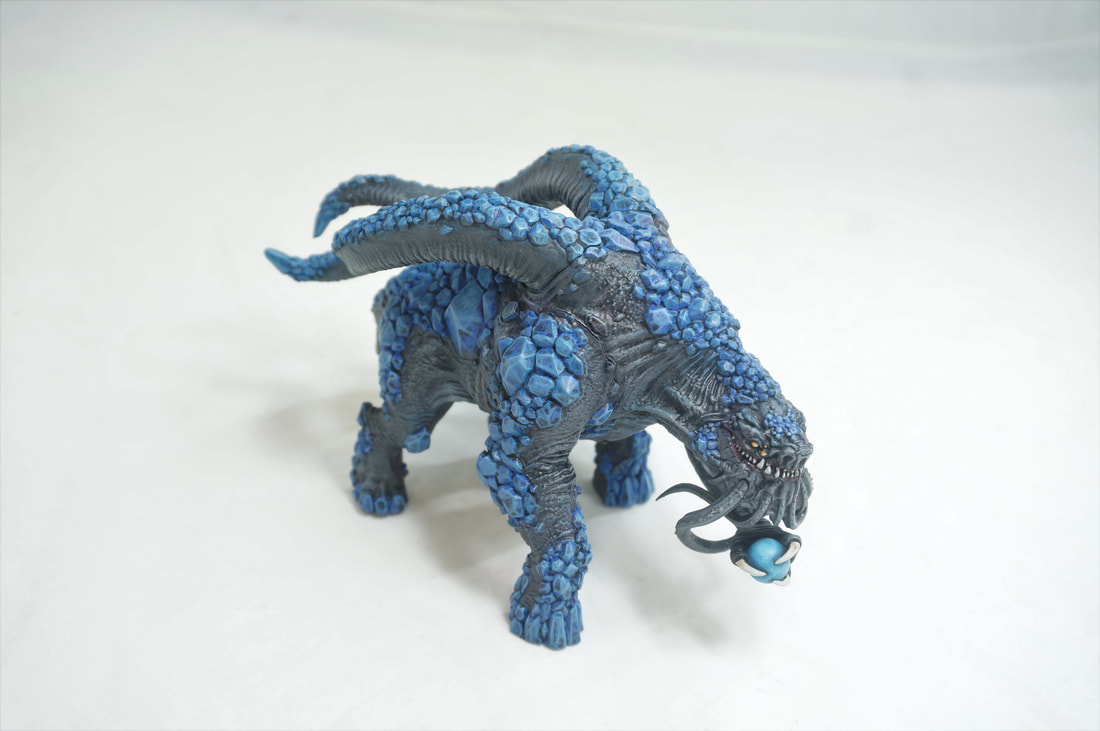 How about a size comparison... 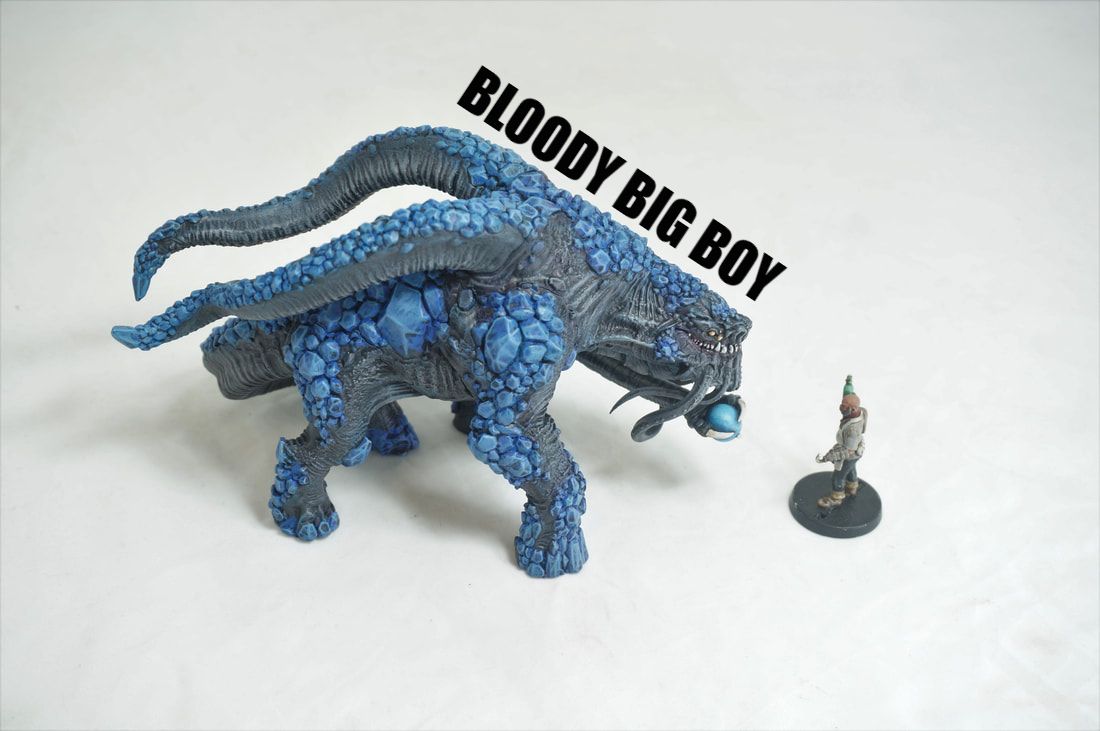 What a behemoth! I am excited to get on with the next one now (there is two more dragons before i get on with the rest of the infantry).
I shall post tomorrow about some of the other finished pieces of this very fun order. I hope you enjoyed this update. I surely did. I recently picked up a big box of colorful flowers (multiple colors) from ebay. What a good idea that was! I usually only pick up one or two siflor tuft sets a year at conventions and such but i am glad i got this mixed box for this order, it really adds a splash of color and excitment to these very brown models. I think also that the bright coloring leans into the cartoony element which is great. I'm really chuffed with this order and i would definitely paint these again. Thanks John! PAINTING THE ROMAN COBBLE STREETS
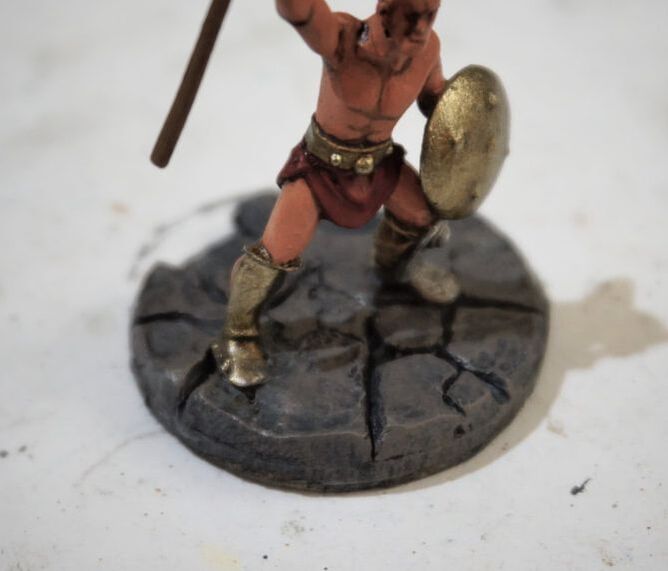
starting with a dark grey base i dry brush the base with a light chocolate brown (craft paint) and then a white beige (craft paint) finally i gently drybrushed the base and cobble edges with spaceship grey (vallejo). Using a mix of browns, beiges and greys definitely lands that "dirty roman street" look while not leaning to far into sandstone or grey stone.
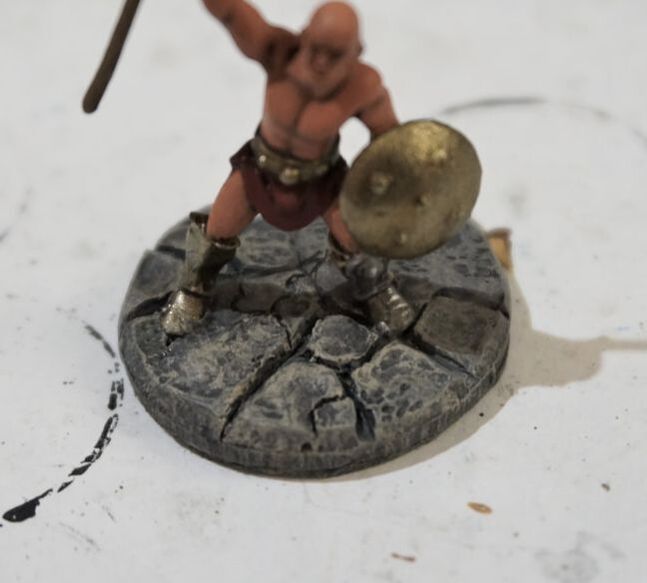
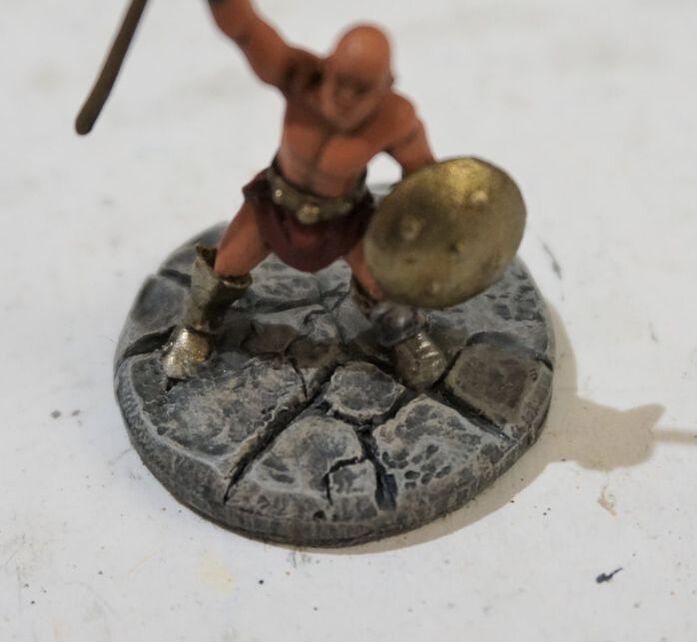
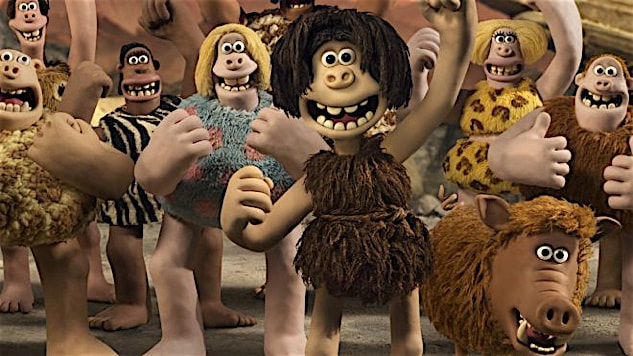
Using a rough and very dry brush i gave the whole model a quick beige dry brush using the craft paint from stage 2 of the basing. This added a musky dusty look to the model which is beyond appropriate for a gladiator style model. As a finishing touch i painted the under base black and added some brown grass and a few fallen leaves. 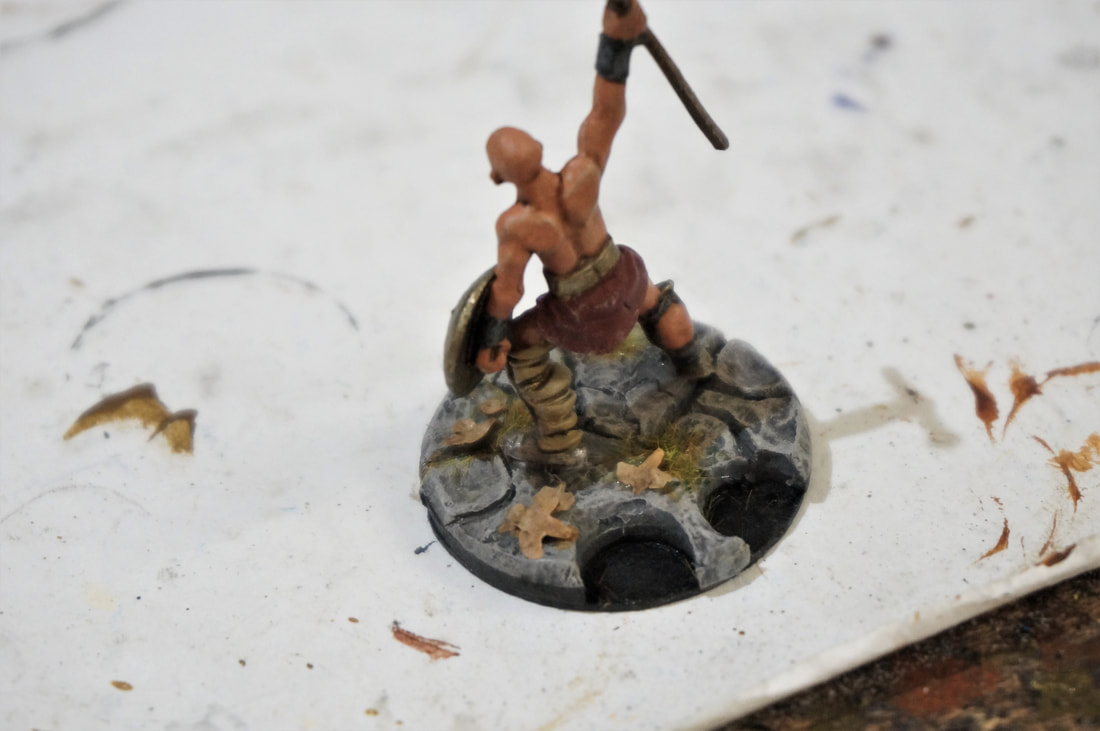 FINISHED TEST MODELI am super chuffed today with how well that base came out. I decided to carve the edges a bit flatter which definitely makes it sharper and more professional. I undercoated the model grey and then painted the base dark grey and put some basic colors down on the model itself. Luckilly these roman models are beautifully smooth and sleek so they take paint very well. To the contrary the ink seems to have swamped the miniature a bit. Being that i work in full body washes like this all the time i am sure it'll come out lovely in the end. I also got 99% of the painting done on those cavemen (although it might look like there's lots to do) i have to just do the final overbrush to bring out all of those furs. I have had a lot of fun painting these and the quirky nature of them. You have to forgive the sculpting mistakes with "first ventures" like this when it comes to sculpting but i must say the feet are terribly dissapointing, they're so cloggy and blurred (detail wise) that they're basically not there. It's such a shame. 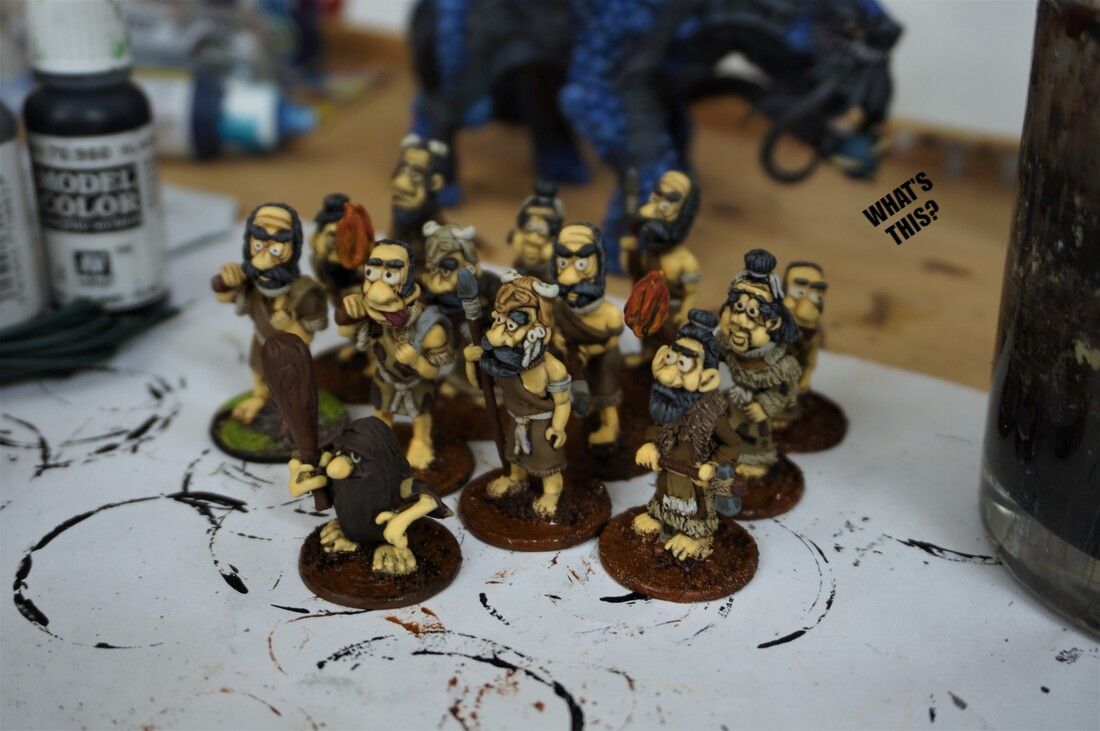 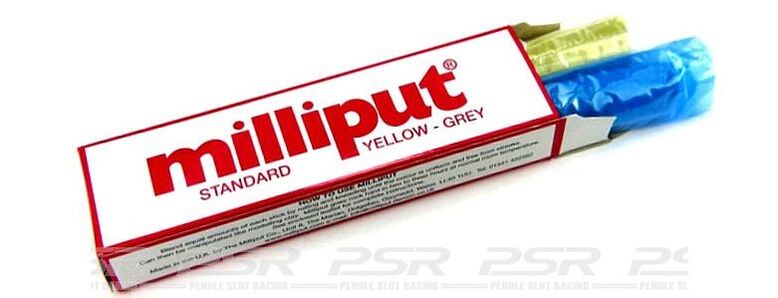 A long time ago i used to sculpt a bit here and there. One of my favorite mediums to work in was Miliput. It's a fascinating alternative to green stuff and comes in four different versions (as far as i know they're different hardness). I bought some miliput standard for these bases. Miliput is a fraction of the price of green stuff (at about £3.00 for about £15.00 worth of green stuff equivalent) and it really is the actual basis of green stuff. Games workshop created there own "miliput" for citadel and it stuck as an industry mainstay, mainly due to it's destinctive green color, a clever marketing ploy by the evil empire indeed. Many professional sculptors use both green stuff and miliput in their work for three ups, depending on the part of the model they're sculpting. 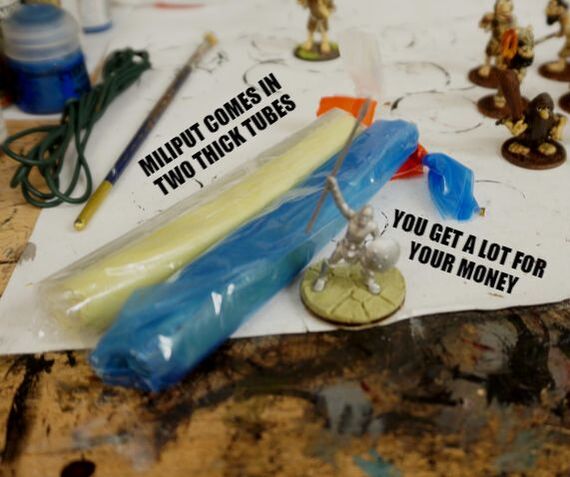 Miliput mixes faster than green stuff, although if mixed to wet it does cover your hands in a dusty paste, but it washes off really easily. I tend to work it dry then use wet tools after. For this base i squeezed a sausage onto the base and then worked the cobble effect in with a cuticle tool (used during manicures and picked up from pound land for next to nothing in a nail kit). The miliput set to hard in about three hours, but will need to cure overnight for painting. I couldn't wait any longer as i really wanted to see this fighter on his base for reference. It worked out really well and the effect really sells the "feel" of the model. I can't wait to paint this one! 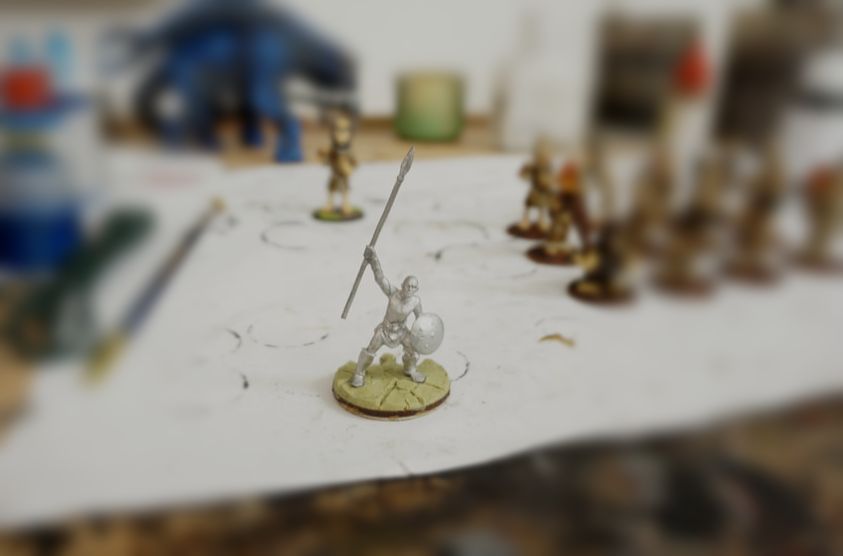 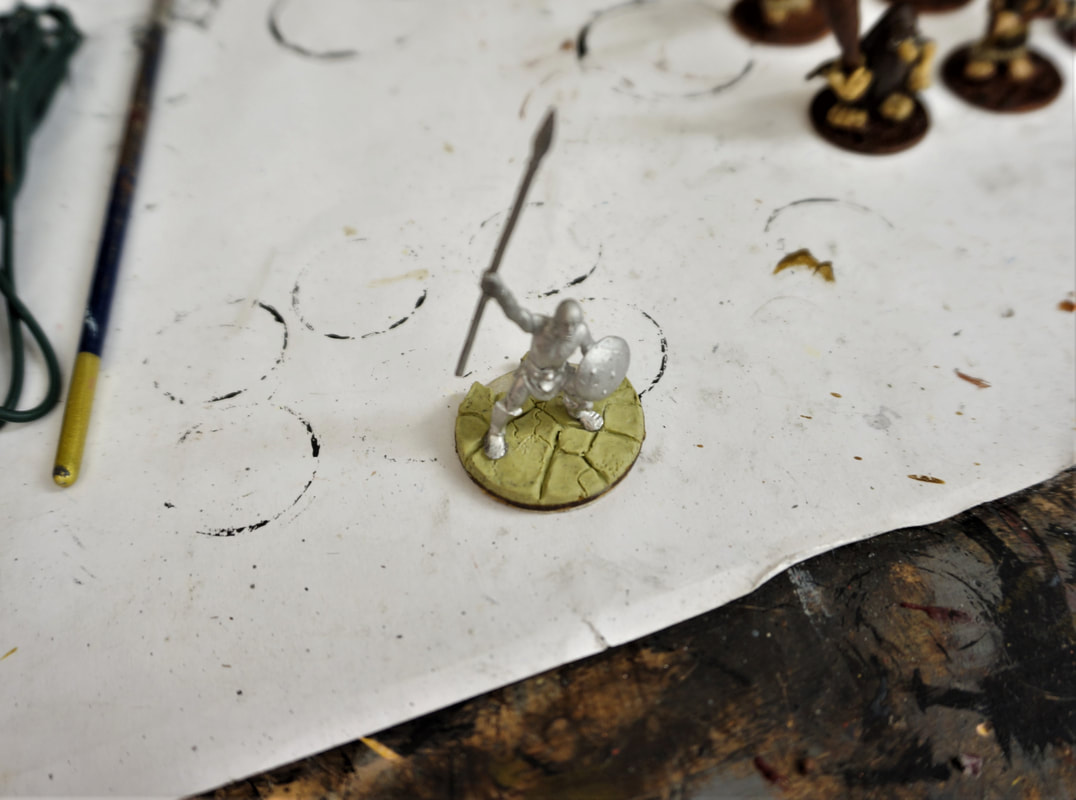 I also got a wash on those cavemen and my black/brown mix worked perfectly bringing to life all those larger flatter skin areas. as with most of my work the proof is really in the pudding, so i can't wait to get this lot done and in the photo booth to show off these whacky sculpts. 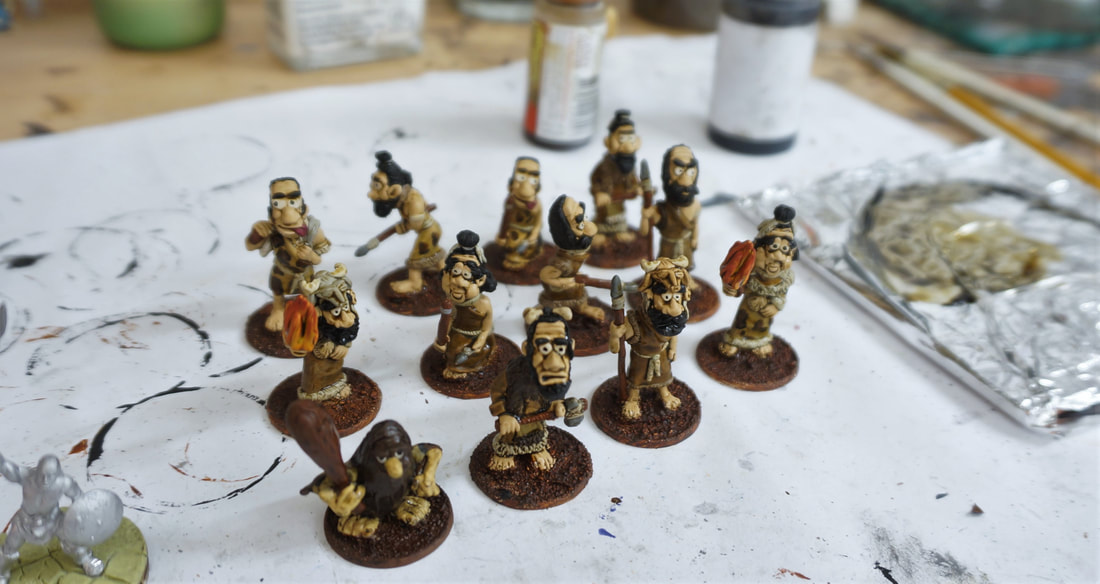 BLIND BEGGAR GAMES CAVEMENThe beauty of aiming at smaller comissions these days is that i get these tiny gems that come across the desk once in a while. Sometimes its a vintage model, sometimes its a unique brand. Today i put the finishing touches on the base coats for these fantastic cartoon cavemen from Blind Beggar games. kickstarter link: https://www.kickstarter.com/projects/blind-beggar/palaeo-diet-the-tribe/description 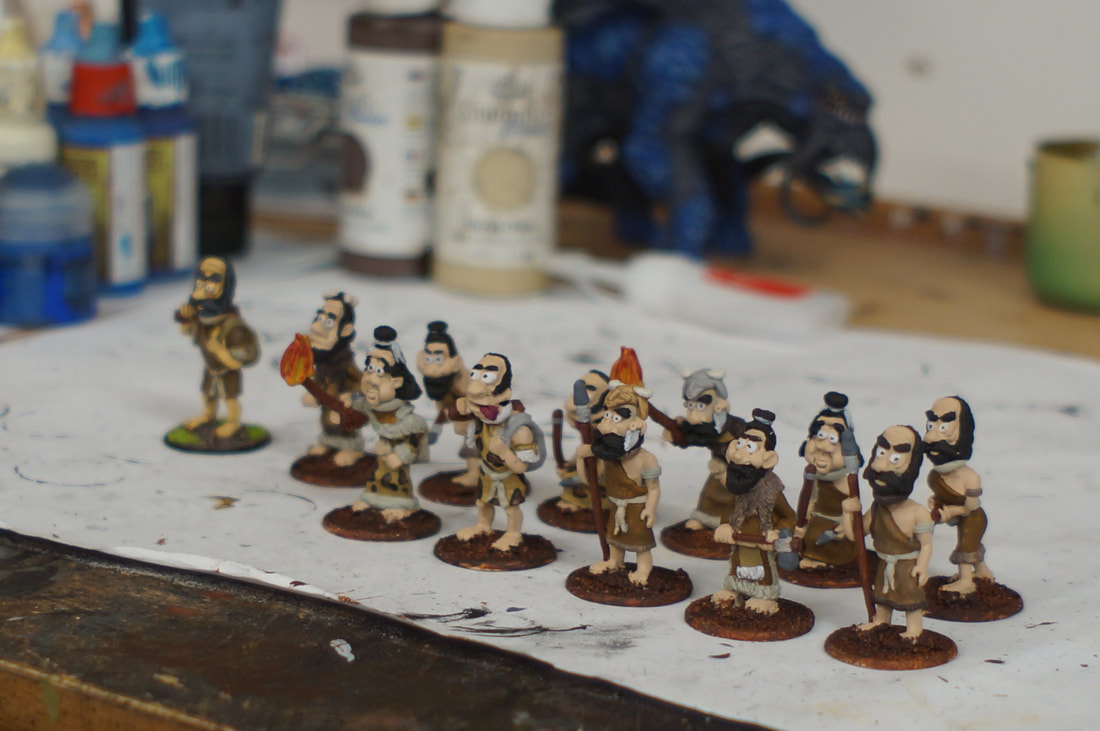 They're very fun to paint and i honestly had no idea what i was getting myself in for. As a big fan of Wallace and Gromit (and all ardman animations) i personally derive a sense of familiarity from them in realtion to that style. My client (John, a lovely man i met a few years ago in person at a convention who has a jovial disposition and a kindly demeanour and with whom i've had a long running and trusting relationship) wanted them as they are on the kickstarter page, but i cleaned up the style a little making the eyes a bit mroe cartoony and a bit less...creepy? Once the paint has cured on these models i will get them inked and then get all those lovely cartoony details back up to level with some highlights. i'm thinking a home made black wash for these so that the minor detailing in the low quality sculpting can pop a bit more and all the furry textures come out also providing a little automatic black lining which would suit this gawdy type of miniature.
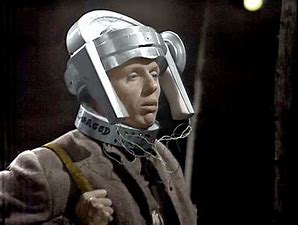
GANGS OF ROME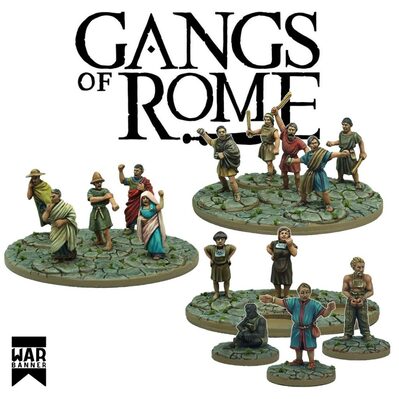 My second lot from this same client this week is a Gangs of rome order. This lot will receive a much more naturalistic and realistic paint job with softer and smoother highlights that the cartoony Cavemen. I personally have some negative thoughts on the gangs of rome pricing model (how it's ridiculous) that i won't share in detail as this blog is about art and the process and not my thoughts on capitolism, however i am glad none the less to get a chance to paint some romans and more specifically civillians as i am not a fan of rank and file roman soliders (work wise) as they can be a pain! (anything uniform can be a pain for quick work, but bright red armor is a buggar to get right en masse). Painting all of these nice warm cloth colors should be a pleasure. I recently read an article about how ancient rome was not white at all but rather an extremely mixed race place. I may ask my client if he fancies a mix of skin tones. 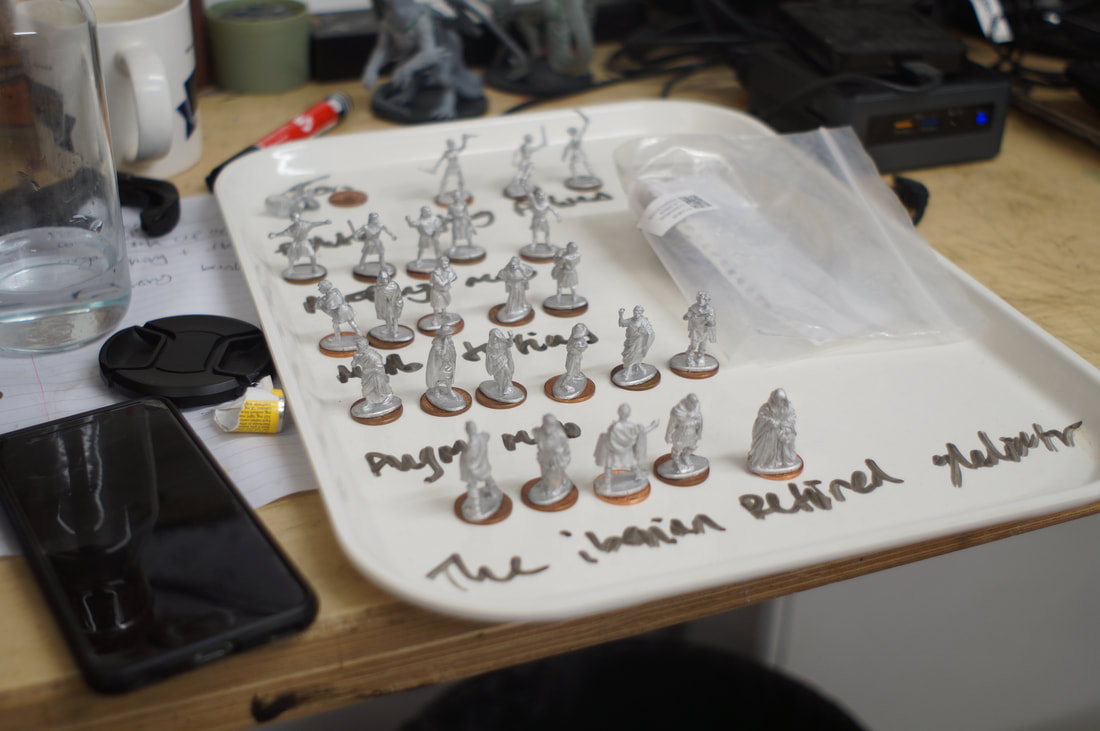 As with all of my orders the romans have a dedicated tray in the workshop that helps me to keep organised. I have stuck them on pennies but my client and i are still communicating about the best approach for basing. I have now received the mdf bases that are required for the game in the post but there is one or two missing and i think maybe the suppliers didn't send them to my client. I am sure we will hash this out soon. In the meantime i attempted to remove a fighter from his tab base with a small saw that my flat mate has. It was a success and he came off smoothly at the bottom of his feet. So i mixed up some miliput and i made a test base in "cobble" finish. I haven't sculpted in a long time, so that was a very satisfying process. I can't wait for it to cure so i can drill his feet and get him onto it, and get a test model painted for this lot. I could of course paint a test model as they are but i don't want to get around to removing their tab bases and then ruin any paint jobs (you have to hold them pretty toughly to saw off the bases). So for now i shall progress on this order again soon once we have ironed out the kinks.  Welcome to the new EZPainter blog. For a long time i've worked in relative silence. I am unsure as to why as i talk to my clients daily but i think its a nice idea to start blogging my work again for my fans and for myself. I plan to be releasing updates hopefully once a week of my mixed prjects i've got on the table. In this first post i am sharing a small commission i've just finished for one of my oldest clients, Dave. Me and dave have a very long working relationship and his loyal trust of my work, style, speed and efforts has always been flattering and boosting for me. Dave often sends me small orders of about 6-10 models and as such i tend to get the chance to "play" with painting. DOCTOR WHO BADDIES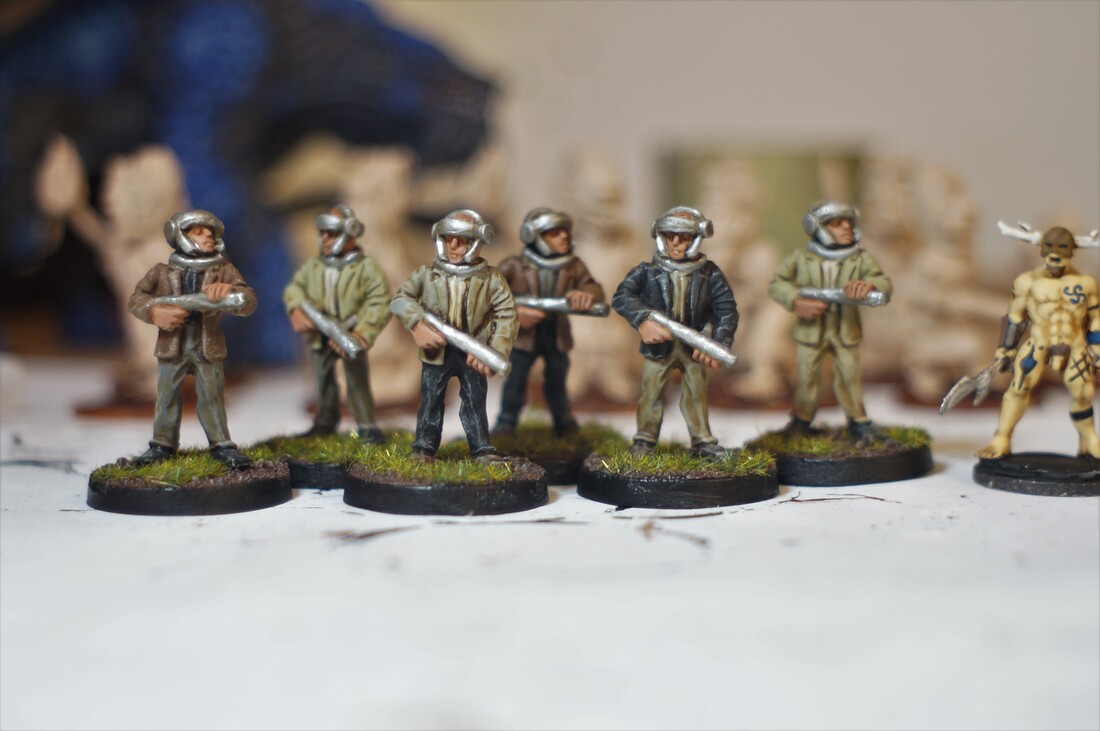 I think these great "old school" white metal sculpts are from Crooked Dice who make some of the best doctor who villains i've ever seen. They could be from black tree designs but i think they lost the doctor who license a long time ago. Dave provided me with these images to copy, and from them i got the idea of "60's office men" so i chose colors to suit.
Dave has been a client so long that a lot of the work i've done for Dave is done using my "old" style of block colors/ ink/ flat drybrush so many of the mdoels i do for Dave i do this way for continuity within his collection. For these models i also picked out the skin tones and metal after inking just so that they had that extra little pop. DRUIDS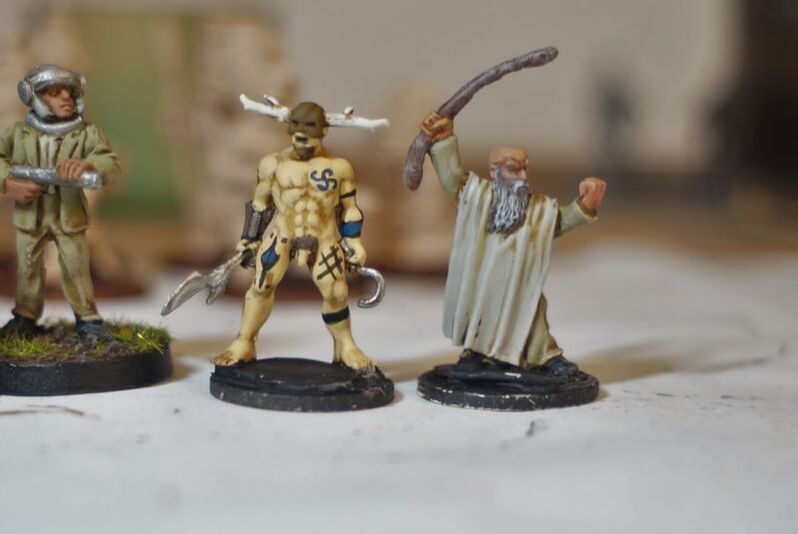 These Warlord druids have long been on my paint list. I first eyed them back in 2009 when i was living in cardiff. Dave threw these in the package for me to put a lick of paint on. It was fun painting the tattoos but i have a gut feeling Dave might want a little touch up on those, they hold up much better at table eye view than they do in photography. Free hand isn't my forte but it does still excite me, as does any challenge. |
SUBSCRIBE TO FOLLOW ALL UPDATES.
ABOUTA blog for the w.i.p element of the EZPainter process. ARCHIVES
April 2024
|

 RSS Feed
